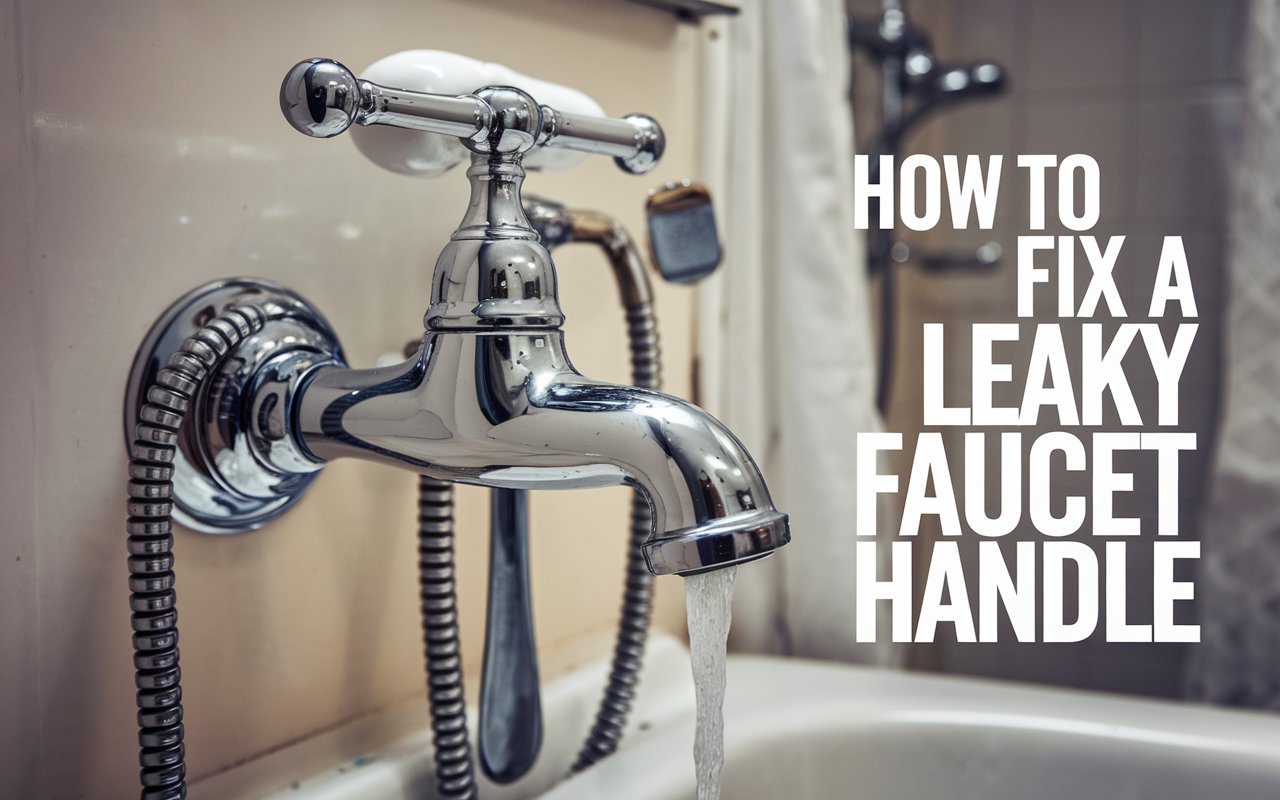
Fixing a leaky faucet handle is simpler than you think. I remember the first time I faced this issue, I felt clueless.
A dripping faucet isn’t just annoying—it wastes water and increases bills. Learning to handle this problem saves money and water, and it’s satisfying to fix things yourself.
In this guide, I’ll share easy steps, common causes, and preventive tips to handle faucet leaks like a pro. Stick with me to learn everything you need to know.
Key Takeaways
- Fixing a leaky faucet handle is straightforward.
- Common tools and basic parts are needed.
- You can prevent future leaks with care.
- Call professionals for complex issues.
What Tools Do I Need to Fix a Leaky Faucet Handle
Having the right tools makes the job easier. Here’s a list of essentials:
- Screwdrivers: To remove screws from the handle.
- Allen wrench: Required for certain faucet designs.
- Adjustable wrench: For tightening or loosening nuts.
- Plumber’s tape: To ensure tight seals on threads.
- Replacement parts: Such as O-rings, washers, or cartridges.
- Bucket: To catch water and avoid mess.
- Vinegar and brush: For cleaning mineral deposits.
With these tools, you’ll be ready to tackle most faucet issues efficiently.
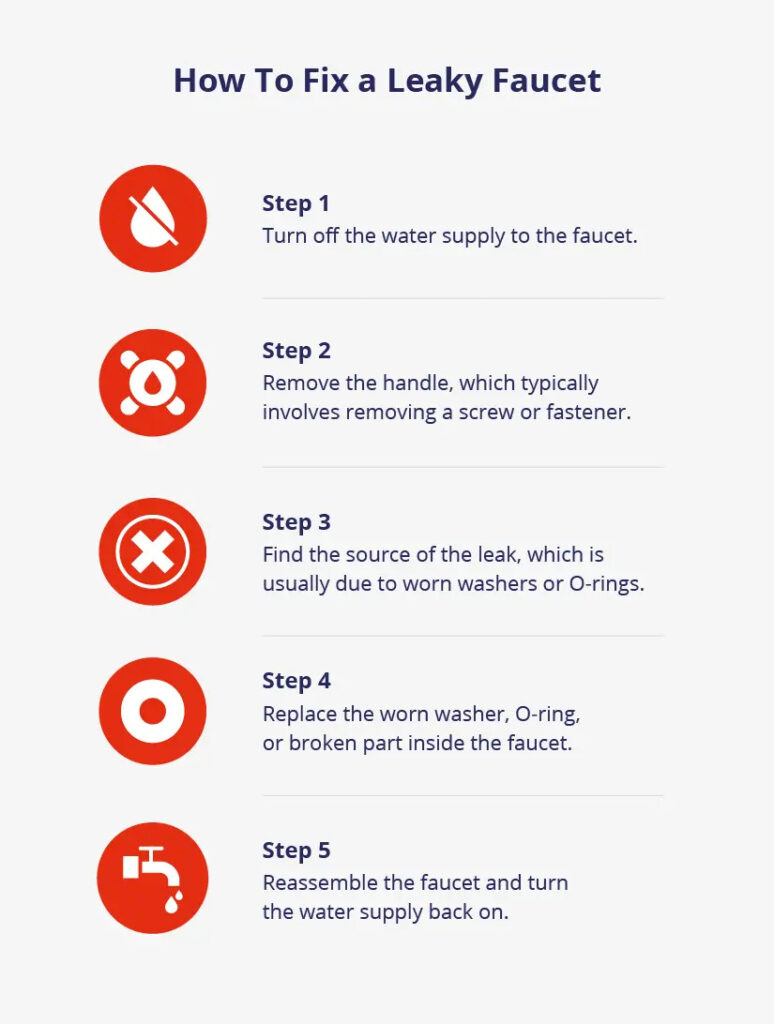
1. Turn Off the Water Supply
Before fixing the faucet, turn off the water supply. This step avoids mess and water damage. Locate the shut-off valve under the sink. Turn it clockwise to stop the water flow.
If there’s no valve under your sink, turn off the main water supply. It’s usually near the water meter. Let the faucet run for a few seconds to drain excess water.
Why is this important? Imagine trying to fix a faucet while water sprays everywhere! Turning off the supply keeps things clean and safe.
Quick Steps to Turn Off Water:
- Find the shut-off valve under the sink.
- Turn it clockwise until it’s tight.
- Open the faucet to release pressure.
2. Remove the Faucet Handle
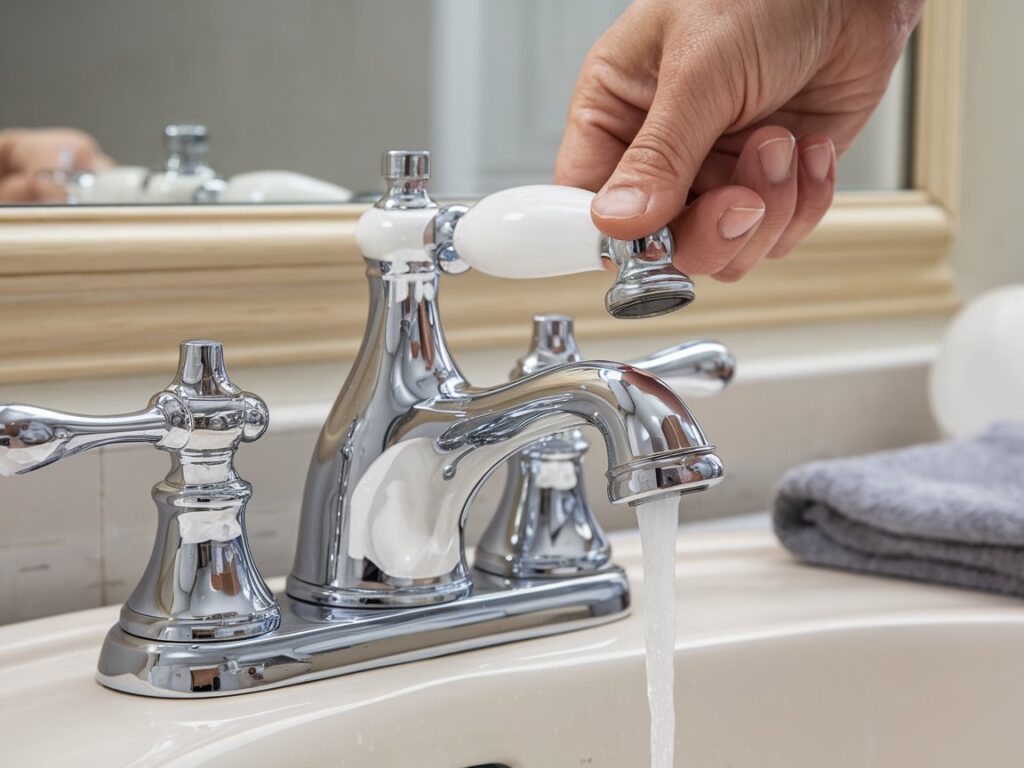
Once the water is off, remove the faucet handle. This requires a screwdriver or hex wrench, depending on the type.
Look for a small screw on the handle, often hidden under a decorative cap. Pry the cap off gently with a flathead screwdriver.
Loosen the screw and lift the handle. If it’s stuck, wiggle it gently. This reveals the inner parts of the faucet, where the leak usually originates.
Taking pictures during this step helps you reassemble everything correctly. Trust me, this saved me a lot of trouble the first time!
3. Find the Source of the Leak
Now, inspect the faucet for worn-out parts. Common culprits include O-rings, washers, and seals. A dripping faucet often results from damaged components.
Here’s a simple table to identify leaks:
| Problem Area | Symptom | Possible Cause |
| Base of the faucet | Water pooling around | Worn O-ring |
| Spout | Continuous dripping | Faulty washer or cartridge |
Take your time to identify the faulty part. Replacing the right component saves effort and ensures a proper fix.
4. Replace the Worn or Broken Part
Once you know the problem, replace the damaged part. Visit a hardware store with the old part to find a matching replacement. Most stores stock parts for common faucet types.
Follow these steps for faucet repair:
- Remove the faulty part carefully.
- Clean the area with a cloth.
- Install the new part securely.
- Check for proper fit and alignment.
Replacing a worn washer or seal often solves the issue. For more complex parts like cartridges, refer to the manufacturer’s instructions.
5. Reassemble the Faucet
After replacing the part, it’s time to reassemble the faucet. Place the handle back in its position and secure it with the screw. Tighten everything gently to avoid damaging threads.
Once the handle is back, turn on the water supply. Test the faucet by turning it on and off. If the water leak persists, double-check your work.

Types of Faucets
Faucets come in various types, each requiring specific parts and repair methods. Below are the common types and tips for fixing them.
Fixing Leaky Compression Faucets
Compression faucets have two handles, one for hot and one for cold. Here’s how to fix a leaky double-handle bathroom faucet:
To disassemble the faucet:
- Start by taking off any decorative caps and unscrewing the handles.
- Next, use a wrench to remove the exposed nut and take out the stem.
- Carefully lift out the seat washer and replace it with a new one coated in plumber’s grease.
- Don’t forget to replace the O-ring too.
- Finally, reassemble the handles, and your leak should be resolved!
Fixing Leaky Ball Faucets
Ball faucets, commonly seen in kitchen sinks, have a single handle that rotates on a ball at the base. Here’s a simple guide to fix a leak:
- Disassemble the Faucet: Start by removing the decorative cover. Unscrew the handle to expose the inner parts.
- Remove Internal Components: Use pliers to take off the cap, cam, and seal. Next, with needle-nose pliers, extract the inlet seals and springs inside the mechanism.
- Replace Worn Parts: Use a ball faucet repair kit to install new O-rings, springs, valve seats, and cam washers.
- Reassemble the Faucet: Reattach the handle and tighten everything securely.
Cartridge Faucets
Cartridge faucets are often single-handled. You can control the water pressure by moving the handle up and down, while side-to-side movement adjusts the temperature.
Here’s a quick guide to fixing a leaky cartridge faucet:
- Take off the handle: Start by unscrewing the faucet handle.
- Remove the retaining clip: If there’s a clip securing the cartridge, use pliers to carefully take it out.
- Detach the spout: Lift off the faucet spout to expose the O-rings underneath.
- Replace the O-rings: Apply plumber’s grease to new O-rings and install them.
- Reassemble the faucet: Put everything back together, and your faucet should no longer leak.
Ceramic Disk Faucets
Identifying a disk faucet is easy once you take it apart. Instead of a ball, you’ll find two ceramic disks inside the mechanism. Here’s how to fix a leak:
- Begin by removing the escutcheon cap.
- Unscrew the faucet handle and disk cylinder to reveal the neoprene seals.
- Carefully remove the seals and soak them in white vinegar if they’re reusable.
- If the seals are damaged, replace them with new ones.
- Reassemble the faucet handle, and the leak should be resolved.
When turning the water back on, do it slowly to avoid damaging the ceramic disk.
Single-Handle Faucets
Single-handle faucets rely on mechanisms like balls, cartridges, or disks. If you’re dealing with a leak, here’s how to fix it:
- Turn off the water supply to prevent any spills.
- Remove the handle by unscrewing the set screw and lifting it off to reveal the internal components.
- Access the mechanism:
- For a ball-type faucet, remove the cap and collar to get to the ball assembly.
- For a cartridge faucet, pull out the retaining clip and take out the cartridge.
- For a disk faucet, unscrew and take out the disk cylinder.
- Inspect the parts like O-rings and seals for any damage or wear.
- Replace any damaged parts, such as the ball assembly, cartridge, or ceramic disks.
- Reassemble the faucet, turn the water back on, and check for leaks.
Fixing Leaks in Double-Handle Faucets (Non-Compression)
Here’s how to repair a double-handle faucet leak:
- Shut off the water supply to prevent any leaks or accidents.
- Remove the handles: Unscrew the set screw or take off any decorative cap, then unscrew the handle.
- Access the faucet mechanism:
- For compression faucets, remove the valve stem to get to the washer.
- For cartridge or disk faucets, detach the retaining nut or clip to remove the cartridge or disk.
- Inspect and replace parts: In cartridge or disk faucets, replace the cartridge or clean the ceramic disks.
- Reassemble the faucet: Reattach the handles, turn the water back on, and check for leaks to ensure everything is working properly.
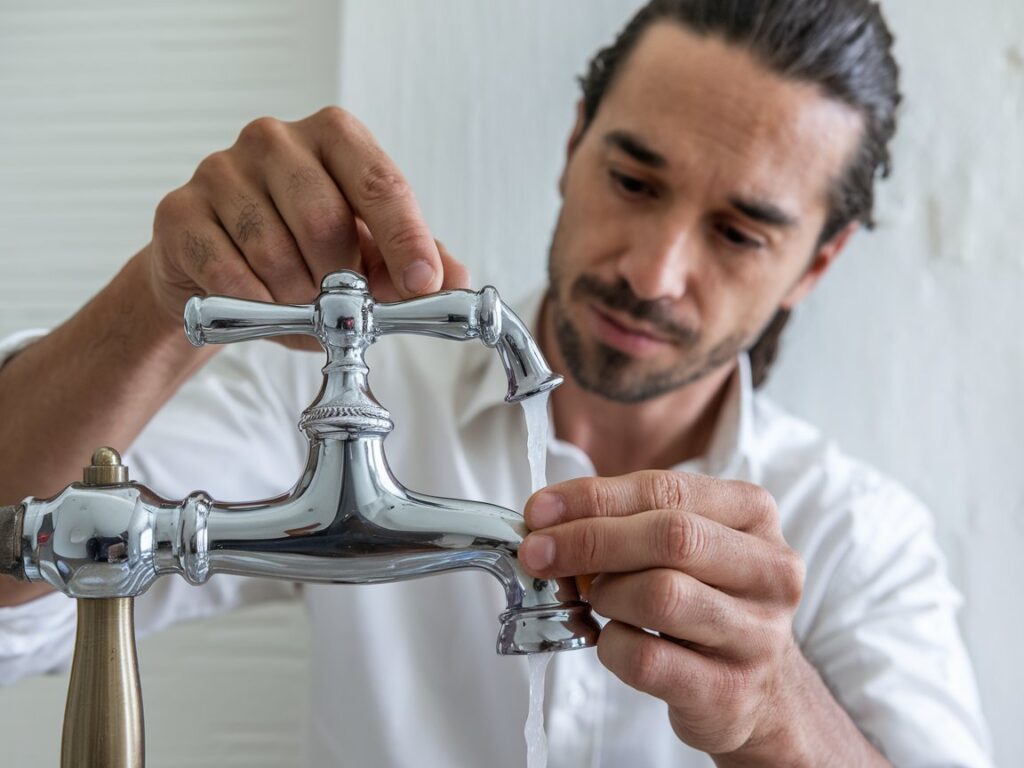
What Types of Faucets Are Most Prone to Leaks
Not all faucets are created equal when it comes to leaks. Here’s a quick comparison:
| Type of Faucet | Leak-Prone Areas | Ease of Repair |
| Compression Faucets | Washers and seals | Easy |
| Ball Faucets | Ball assembly and seals | Moderate |
| Cartridge Faucets | Cartridge | Easy |
| Ceramic Disk Faucets | Ceramic seals | Difficult |
| Single-Handle Faucets | Handle and internal mechanism | Moderate |
| Double-Handle Faucets | Washers and valves | Easy |
Older compression faucets and ball faucets are more prone to leaks due to their design, while ceramic disk faucets are less likely but harder to repair.
Common Causes of Leaky Faucet Handles
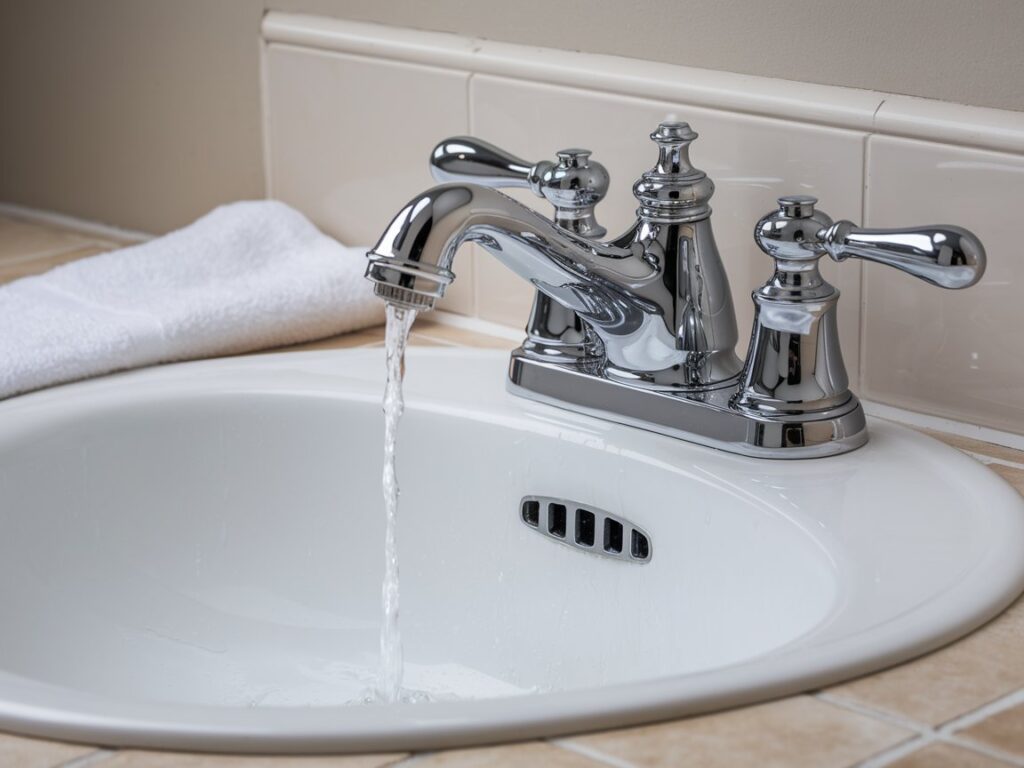
Leaky faucet handles are a common and annoying problem in many homes. If not fixed promptly, they can lead to bigger issues like water damage.
Here are some of the most frequent causes of a leaky faucet:
- Worn-out washers
- Broken O-rings
- Damaged seals
- Loose or broken parts
- Fluctuating water pressure
- Faucet age and wear
What Are the Most Common Causes of Leaky Faucet Handles
Leaky faucet handles can be caused by simple wear and tear or minor issues in the faucet’s mechanism. Here are some of the most frequent culprits:
- Worn-out washers or O-rings: Washers and O-rings are essential for sealing the faucet. Over time, they wear out or become brittle, causing leaks.
- Corroded valve seats: A corroded valve seat, which connects the faucet and spout, can lead to a dripping faucet. Hard water accelerates this corrosion.
- Loose or damaged parts: Screws, nuts, or other components might loosen or break due to frequent use.
- High water pressure: Excessive water pressure can damage the faucet’s internal parts, leading to leaks.
- Mineral buildup: Hard water leaves deposits that clog or damage the faucet.
Knowing these causes helps you diagnose and address the problem quickly.
How to Prevent Faucet Leaks
Keeping your faucet leak-free is important for both saving water and maintaining the health of your plumbing system.
With a proactive approach, homeowners can avoid many of the common problems that cause faucet leaks. Below are some simple tips to help you keep your faucet in top condition.
Perform Regular Inspections
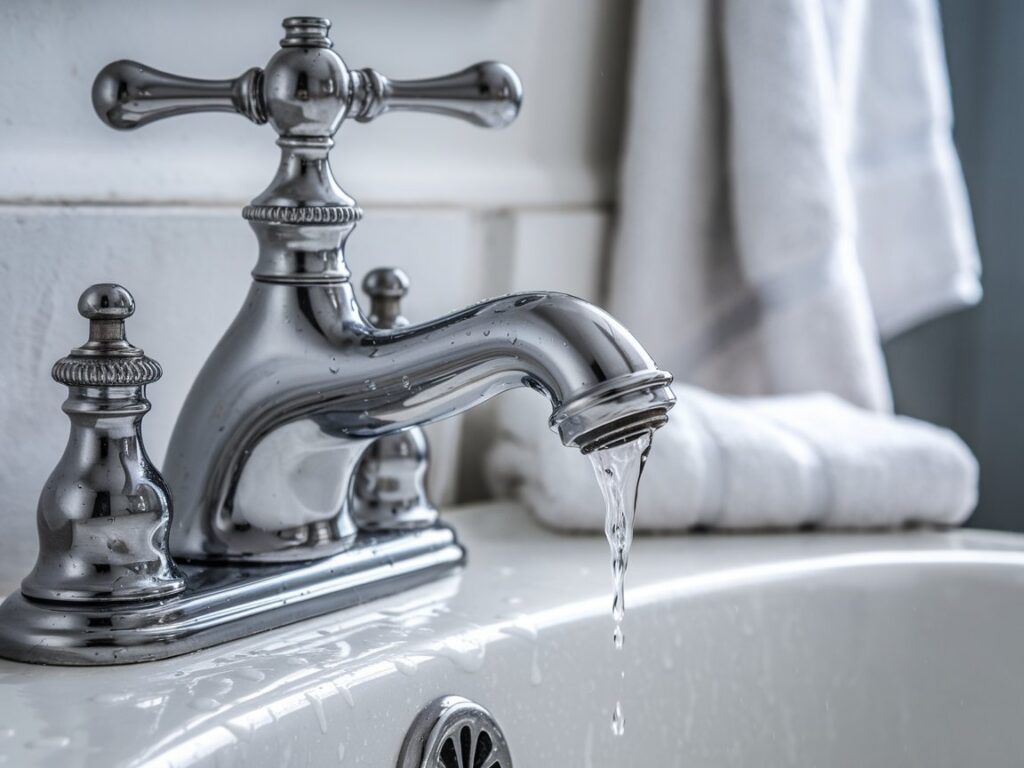
Inspecting your faucet every few months (ideally every 3-6 months) is key to spotting early signs of damage or wear.
Look out for leaks, unusual sounds, or corrosion. Make sure to check both the faucet itself and the area beneath the sink for any signs of water leakage.
Clean and Maintain Regularly
Keeping your faucet clean helps prevent mineral buildup and grime that can affect performance. Use a mild cleaner and soft cloth to avoid damaging the faucet’s surface.
For tougher deposits, try vinegar or mild soap and water. Don’t forget to remove and clean the aerator periodically to maintain steady water flow.
Fix Minor Issues Promptly
Some leaks are caused by small, loose parts or worn-out washers and O-rings. Tighten any loose nuts or screws, and replace worn-out components as soon as possible to prevent bigger issues.
Manage Water Pressure
Excessive water pressure can put a strain on your plumbing system. Aim for a water pressure range of 40-60 psi.
If your water pressure is too high, consider installing a pressure regulator. Also, avoid drastic changes in water temperature, as they can stress your pipes. Keep the temperature steady for optimal performance.
How Can I Prevent My Faucet From Leaking in the Future
Preventive care is the best way to avoid faucet repairs. Here are some tips:
- Inspect regularly: Check your faucets monthly for any loose parts or small leaks.
- Clean often: Use vinegar and water to remove mineral deposits and prevent clogging.
- Fix minor issues promptly: Don’t ignore tiny drips; they can lead to bigger problems.
- Manage water pressure: Keep water pressure at a safe level, usually between 40-60 psi.
- Replace worn parts early: Replace washers or O-rings at the first sign of wear.
By following these steps, you can save yourself the hassle of dealing with a water leak later.
Know Who To Call To Fix a Leaky Faucet
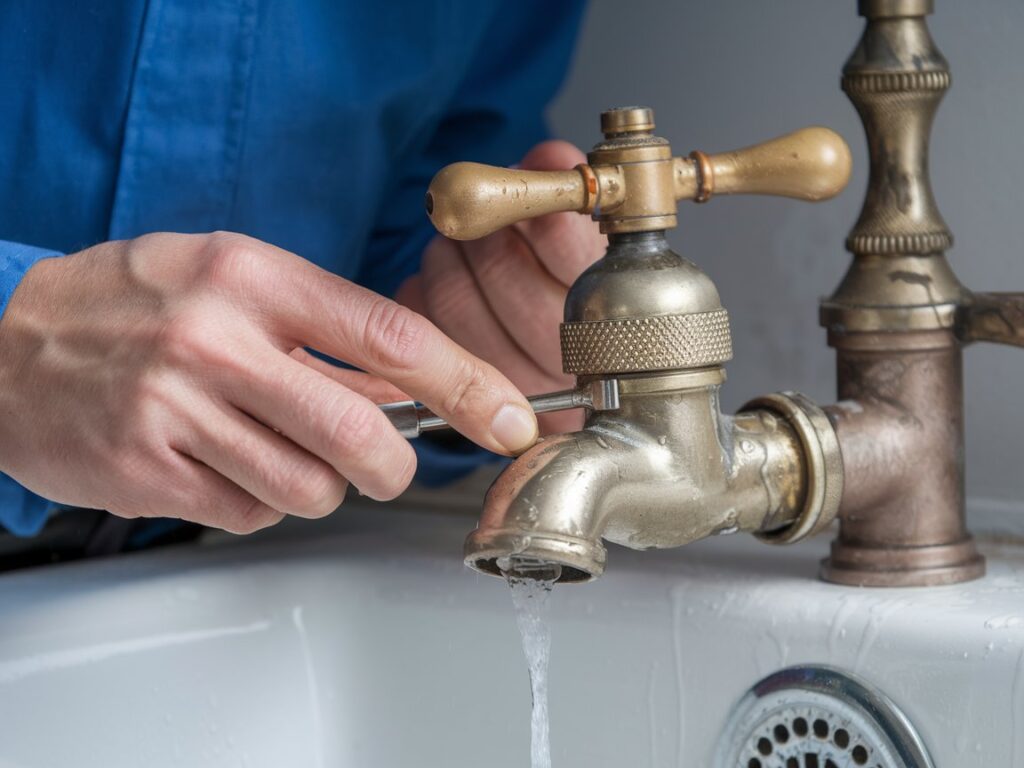
Sometimes, DIY doesn’t work. Calling a plumber is best for complex issues. Look for licensed professionals with good reviews.
When to Call a Plumber:
- Persistent leaks after repair attempts.
- Leaks from hard-to-reach areas.
- Damaged or corroded faucet parts.
When Should I Call a Professional to Fix a Leaky Faucet
Sometimes, DIY fixes may not solve the issue. Here’s when to call a plumber:
- Persistent leaks: If the faucet continues dripping after replacing parts, it may have a deeper issue.
- Corroded parts: Severe corrosion in the valve seat or other parts might require professional tools.
- Unusual noises: Whistling or clanging noises indicate water pressure issues or internal damage.
- Complex faucets: High-end or ceramic disk faucets can be tricky to repair without expert help.
- Main water line issues: If turning off your faucet doesn’t stop the leak, there might be a plumbing system problem.
Hiring a professional saves time and ensures the repair is done right.
FAQs About Leaky Faucet
Final Thoughts
Fixing a leaky faucet handle is easier than you think. With basic tools and patience, you can save water and money. Don’t hesitate to call a professional for tough jobs.
DIY faucet repair taught me valuable skills and boosted my confidence. I hope this guide helps you tackle your dripping faucet with ease!
