Wood furniture adds warmth and charm to any home. But no matter how carefully we use it, wood scratches are bound to happen.
Whether it’s a minor scratch from everyday use or a deeper mark caused by an accident, seeing those flaws on your beautiful wood furniture can be frustrating.
I know exactly how it feels because I’ve been there myself. A few months ago, I accidentally scratched my favorite wooden table while moving some chairs.
The scratch mark stood out on the dark wood surface, and I couldn’t stop staring at it.
Instead of spending a lot of money on professional repairs, I started looking for DIY hacks to fix it myself.
The good news is that most scratches from wood furniture can be fixed with simple household items.
Whether you’re dealing with light scratches, deep scratches, or even larger wood abrasions, there are plenty of affordable ways to make your furniture look brand new again.
Key Takeaways
- Different repair methods work for different types of scratches. Identifying the scratch type is the first step.
- Everyday items like vinegar, olive oil, coffee grounds, and shoe polish can fix minor scratches.
- Proper furniture care tips like regular cleaning and protective measures can help prevent future damage.
- DIY fixes work for most scratches, but extensive wood abrasions might need professional help.
- Consistent long-term care keeps your wood furniture looking fresh and polished.
If you’re struggling with scratches on your wood furniture, don’t worry — you’re not alone. This guide will walk you through every method step by step, from small touch-ups to more advanced fixes.
Let’s jump into the first step — identifying the type of scratch and its severity.

Identify the Type and Extent of the Scratch
Before trying any repair method, the most important step is to figure out what kind of scratch mark you’re dealing with.
Not all wood scratches need the same treatment. Some marks are only on the surface, while others go deep into the wood surface.
I learned this the hard way when I first tried fixing a scratch on my cherry wood table. I used the wrong method for a deep scratch, and it only made the damage worse.
That’s why understanding the extent of damage is key to choosing the right solution.
How to Identify the Scratch Type
Here’s how you can tell what kind of scratch you’re facing:
| Scratch Type | Description | How to Check | Repair Difficulty |
| Light scratches | Surface-level marks | Only visible under certain angles | Easy |
| Minor scratches | Slightly deeper, but still on the surface | Can be felt when running a soft cloth over the wood | Moderate |
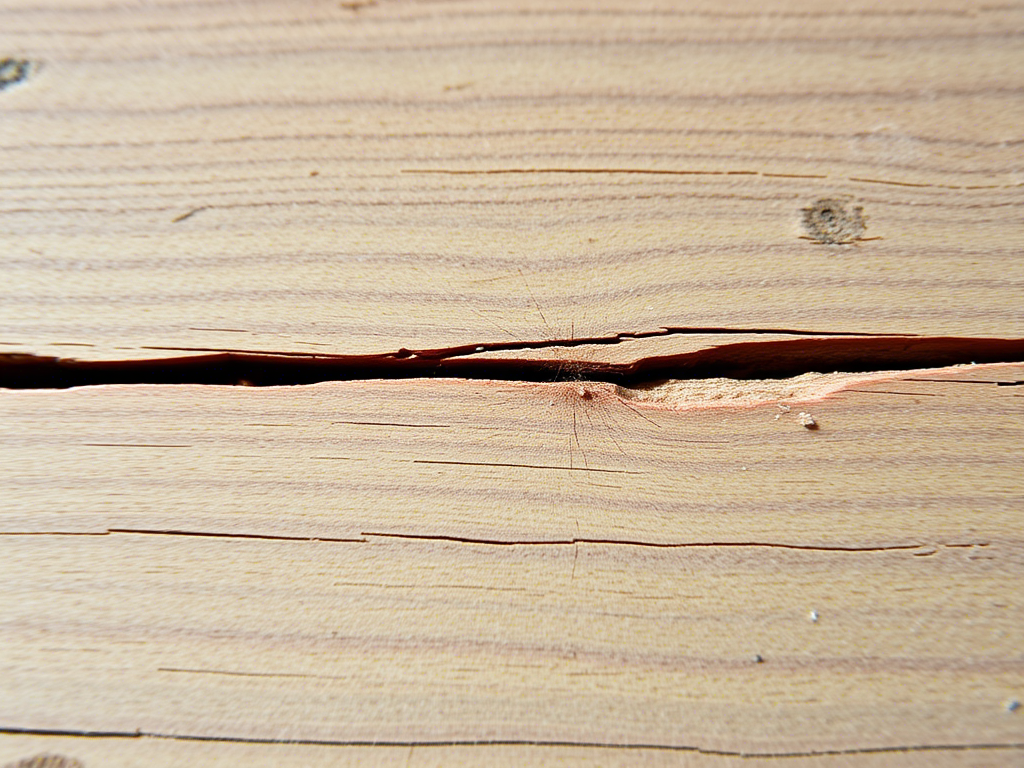
| Deep scratches | Cuts into the wood, exposing raw wood grain | Clearly visible and rough to the touch | Hard |
| Gouges in wood | Large, deep damage | Breaks through the wood finish and reaches the wood layers | Very Difficult |
Quick Test
Use a damp cloth to wipe the scratched area. If the scratch disappears while the surface is wet but reappears when dry, it’s likely just a light scratch affecting the wood finish.
But if the scratch remains visible, you’re probably dealing with deep scratches that will need more effort.
Why It Matters
Identifying the extent of damage helps you choose the right repair method. It also prevents using harsh products that could cause further damage to furniture finishes.
Once you’ve figured out the scratch type, the next step is gathering the right materials for the repair. Let’s move on to the list of what you’ll need.
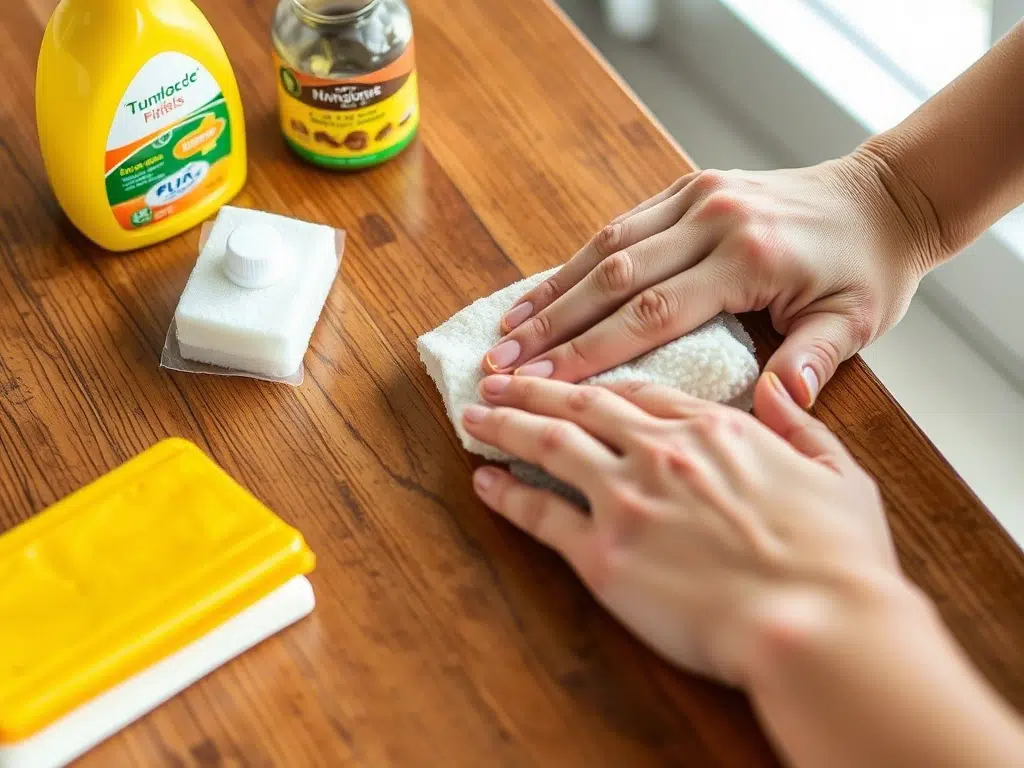
Gather Necessary Materials for Repair
Fixing wood scratches doesn’t always require fancy tools. Most of the time, you can repair scratches with simple items already in your kitchen or toolbox.
I remember when I fixed the scratches on my wooden table for the first time — I only used a few household ingredients. I didn’t need to run to hardware stores or spend much money. The best part? The results were surprisingly good.
List of Materials
Here’s a breakdown of the materials you’ll need based on the type of scratch:
| Scratch Type | Materials | Purpose |
| Light Scratches | Olive oil, vinegar, soft cloth | Blends surface marks |
| Minor Scratches | Shoe polish, stain pens, cotton swab | Restores color |
| Deep Scratches | Wood putty, coffee grounds, wax crayon | Fills in gaps |
| Gouges in Wood | Wood filler, grit sandpaper, polyurethane finish | Repairs larger wood abrasions |
Where to Get Materials
- Check your kitchen for vinegar, olive oil, or coffee granules.
- Visit local hardware stores for wood putty, stain pens, or grit sandpaper.
- Buy homemade furniture polish or natural furniture polish online.
Pro Tip: Always use a microfibre cloth or cotton cloth to avoid leaving loose grit particles behind. This small step protects your wood surface during repairs.
Now that you have everything ready, let’s move on to the easiest and most popular DIY hack for light scratches — the vinegar and olive oil mixture.
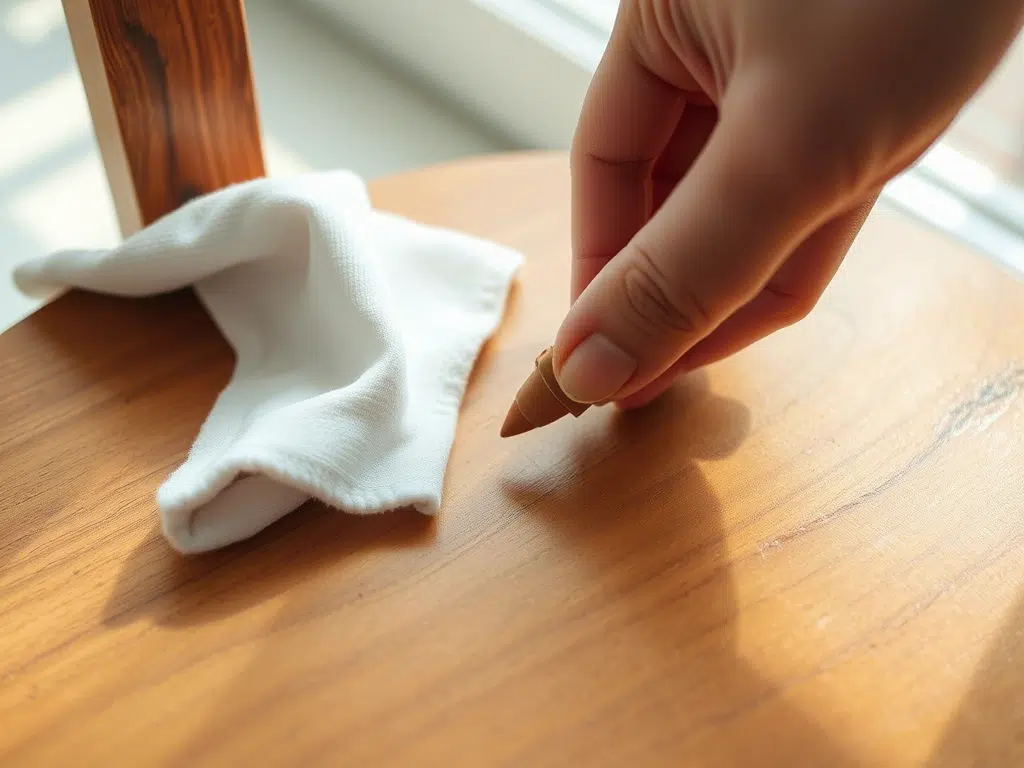
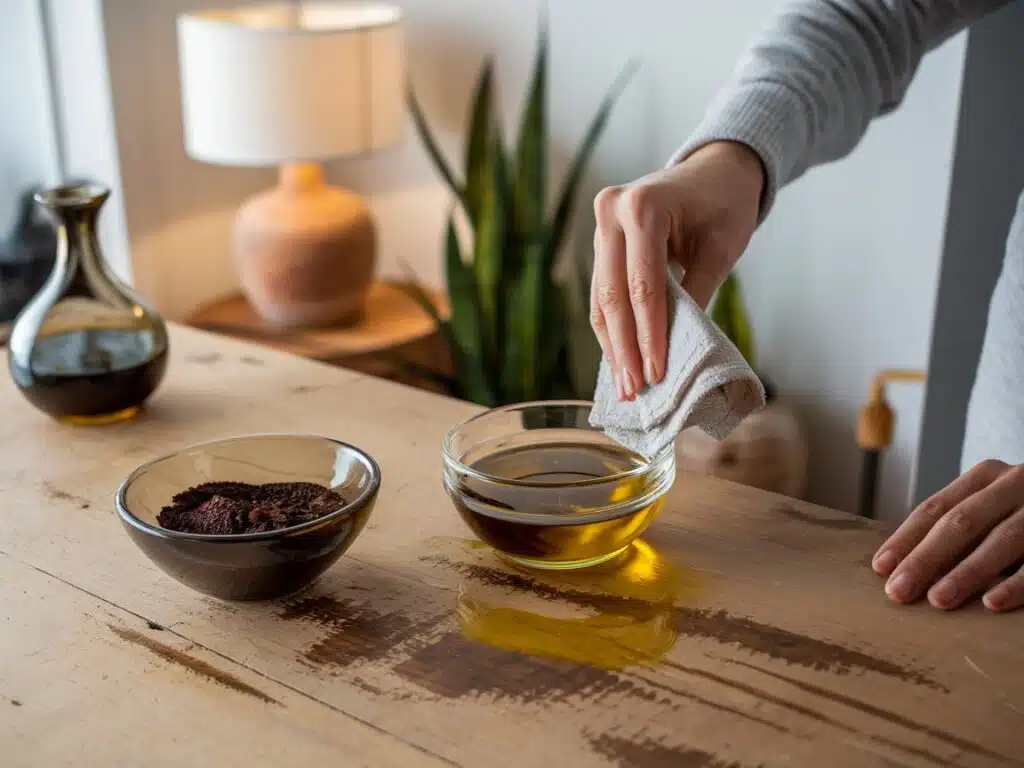
Use a Vinegar and Olive Oil Mixture for Light Scratches
If you’re dealing with light wood scratches, a simple vinegar and olive oil mixture works like magic. I personally use this trick on my wooden tables and chairs whenever I notice small scratch marks.
It’s one of those old-school DIY hacks passed down through generations — and it really works!
How to Apply the Vinegar and Olive Oil Mixture
Follow these easy steps:
- Mix white vinegar and olive oil in equal parts (50/50 ratio).
- Dip a clean cloth or cotton swab into the mixture.
- Rub the mixture into the scratched area, following the wood grain.
- Let it sit for 5-10 minutes.
- Buff the area with a dry cloth to remove excess oil.
Why It Works
- Vinegar helps clean the scratched area.
- Olive oil nourishes the wood and blends the color with the surrounding area.
- This method is completely natural, making it perfect for beautiful wood furniture without harsh chemicals.
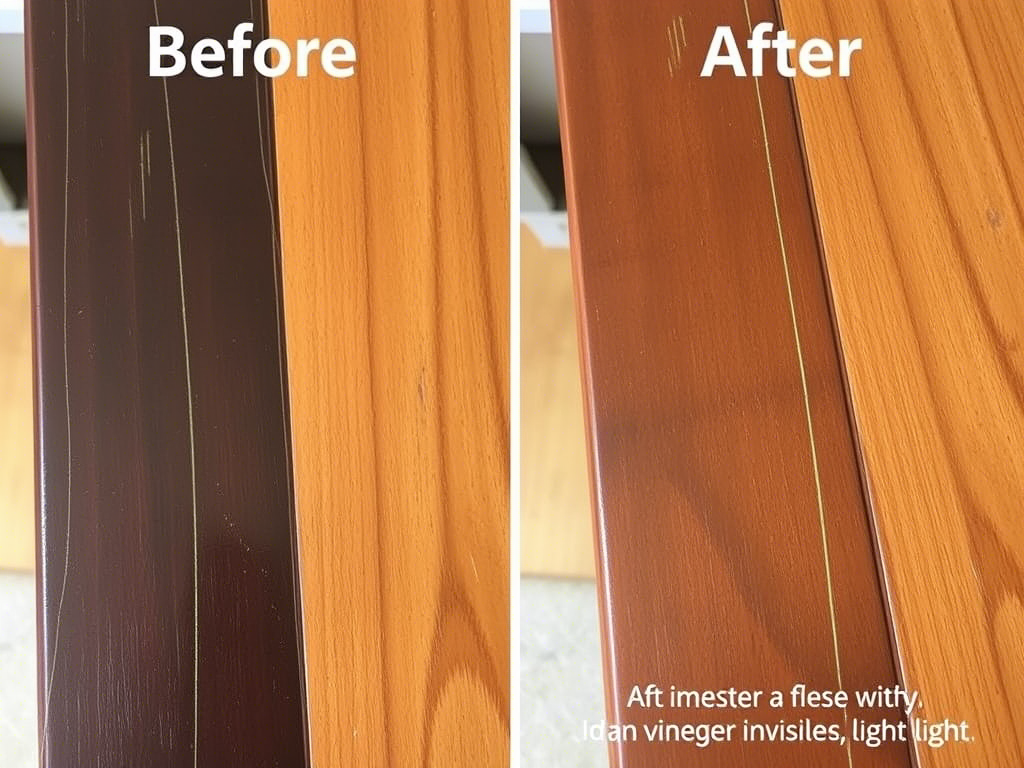
Before and After Results
| Type of Wood | Scratch Visibility (Before) | Scratch Visibility (After) |
| Dark Wood | Highly visible | Almost invisible |
| Medium-Colored Wood | Visible under light | Lightly faded |
| Light Wood | Barely visible | Completely blended |
Buff with Care
Don’t forget to buff with care using a microfibre cloth to avoid leaving marks on the entire surface.
If the scratches are still visible, don’t worry — there are more powerful repair methods coming up, like using shoe polish and coffee grounds.
Apply Shoe Polish for Color Restoration
When scratches leave behind light to dark marks on wood, the color difference makes them even more noticeable.
This happened to me on my dark wood furniture when I accidentally dragged a metal frame across the surface.
The scratch wasn’t deep, but the bright line against the darker-stained wood finishes stood out like a scar.
That’s when I discovered that shoe polish isn’t just for shoes — it’s one of the best hidden tricks for blending in wood scratches.
How to Use Shoe Polish on Scratches
Here’s how I fixed my table using only a small amount of shoe polish:
- Choose a shoe polish that matches your current stain — either light wood, medium-dark color, or dark wood.
- Apply a small amount of polish with a cotton swab or soft cloth.
- Rub the polish gently over the scratch mark, following the wood grain.
- Let it dry for 10-15 minutes.
- Buff the area with a clean cloth to remove excess polish.
Shoe polish works like a temporary stain repair pen, filling in the scratch and matching the original wood color. It’s especially effective on dark wood scratches and medium-colored wood.
Tip for Best Results
If the color is too light, apply multiple thin layers of polish instead of one thick layer. It blends better and prevents sticky residue.
This method works well for cosmetic damage, but for deeper marks, you might need something stronger — like coffee grounds.
Use Coffee Grounds for Filling Deeper Scratches
Believe it or not, coffee grounds can do more than wake you up in the morning — they can fix scratches too! I tried this method on an old coffee table with deep scratches, and the results were shockingly good.

How It Works
The natural brown color of coffee blends perfectly with darker woods like ebony wood or cherry wood. Plus, the fine texture fills in the gaps without damaging the wood.
How to Use Coffee Grounds on Scratches
- Mix 1 teaspoon of instant coffee granules with a few drops of hot water.
- Let the mixture cool down.
- Dab the damp coffee grounds onto the scratch using a cotton swab.
- Let it sit for 10-15 minutes.
- Wipe off excess coffee with a soft cloth.
- Repeat if necessary for darker color combinations.
Why This Hack Works
- Coffee granules fill the gaps like natural wood filler.
- It blends better with darker stains than most store-bought stain pens.
- It’s 100% natural and doesn’t harm the wood surface.
| Type of Wood | Effectiveness |
| Dark Wood | Excellent |
| Medium-Colored Wood | Good |
| Light Wood | Not Recommended |
Buff with care after the treatment to keep the surface smooth.
If you’re dealing with minor damage and want a quicker fix, the next trick — using crayons — might surprise you.
Use a Crayon to Blend and Hide Scratches
If you’ve got kids at home, there’s a good chance you have crayons lying around. What I love about this trick is how quick and mess-free it is.
I’ve used this on my kitchen chair seat when I noticed small wood scratches caused by moving the chairs back and forth.
How to Use Crayons on Wood Scratches
- Pick a crayon color that closely matches your current stain.
- Rub the crayon directly onto the scratch mark.
- Use your finger or a clean cloth to press the wax into the scratch.
- Buff the area with a soft cloth to remove excess wax.
Why It Works
Crayons work like a spot with wax, filling the gaps and restoring the wood finish. This trick is best for minor scratches or quick touch-ups.
| Scratch Type | Effectiveness | Time Required |
| Minor Scratches | Excellent | 2-3 minutes |
| Light Scratches | Good | 2-3 minutes |
| Deep Scratches | Not Effective | N/A |
Pro Tip: For a more permanent fix, seal the area with a thin coat of polyurethane after applying the crayon.
If you’re still seeing the scratch, don’t worry — there are more DIY hacks coming up to tackle even the toughest wood damage. Next, I’ll share the surprising power of steam treatment for minor abrasions.
Try Steam Treatment for Minor Abrasions
Not all scratches from wood furniture need fancy materials to fix. Sometimes, a little heat and moisture can work like magic.
I remember the first time I used this trick on my wooden table — I couldn’t believe how easily the small scratch marks disappeared.
Steam treatment works best for shallow dents or minor abrasions on unfinished or lightly finished wood. The heat causes the wood fibers to swell back into place, making the scratch vanish almost like it was never there.
How to Use Steam to Fix Wood Scratches
Here’s how I did it:
- Dampen a clean cloth or microfibre cloth with hot water. Make sure it’s not dripping wet.
- Place the cloth directly over the scratched area.
- Set a hot iron to medium heat and press it onto the cloth for 5-10 seconds.
- Lift the iron and check the scratch.
- Repeat the process if the dent is still visible.
- Once the scratch disappears, buff the area with a dry cloth to restore shine.
Why It Works
Steam makes the wood fibers absorb moisture, which causes them to expand and fill in the scratch. This method works especially well on light wood scratches and minor damage.
| Type of Wood | Effectiveness | Best For |
| Dark Wood | Moderate | Surface dents |
| Medium-Colored Wood | Excellent | Minor abrasions |
| Light Wood | Excellent | Shallow scratches |
Important Tips
- Always use a damp cloth — never apply the iron directly to the wood.
- This method works only on raw or lightly finished wood, not on surfaces with a polyurethane finish.
- Don’t press the iron too long, or it might cause future damage.
Steam treatment is perfect for small dents, but for significant damage or larger wood abrasions, you’ll need something stronger — like wood putty.
Apply Wood Putty for Significant Damage
When I accidentally dropped a heavy lamp on my cherry wood table, it left a deep dent that no amount of polish or homemade hacks could fix.
That’s when I turned to wood putty — a lifesaver for deeper scratches and gouges.
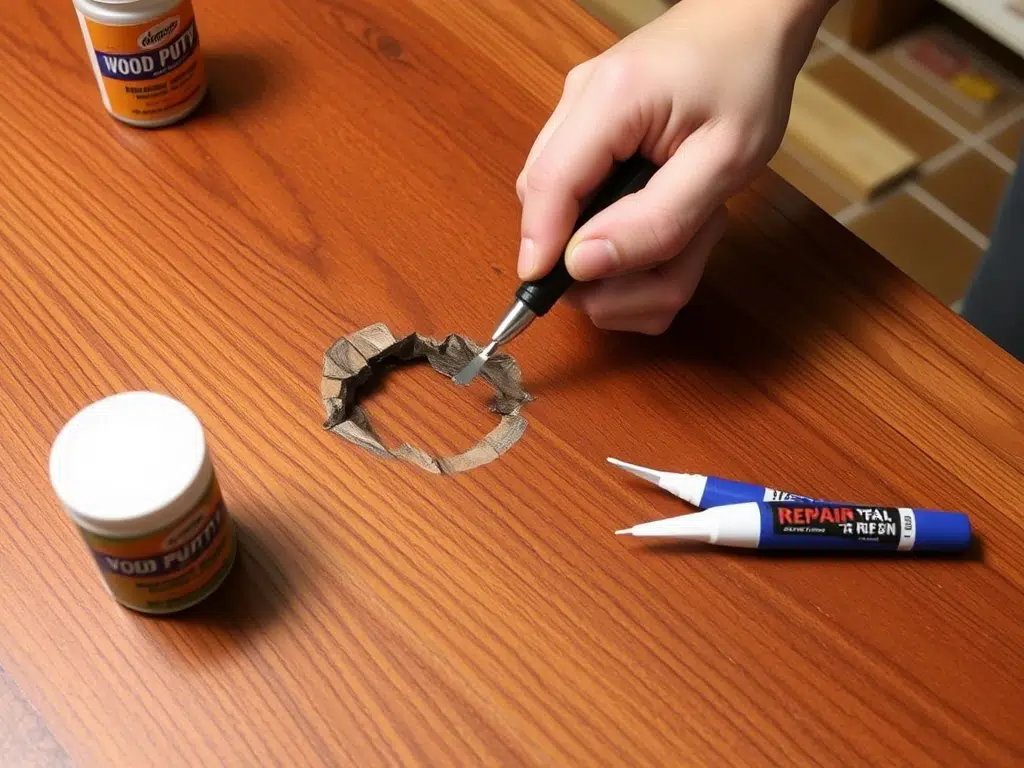
What is Wood Putty?
Wood putty is a soft, moldable filler made from wood dust and binding agents. It fills in larger gaps and hardens as it dries, making it perfect for deep scratches, gouges in wood, and extensive wood abrasions.
How to Apply Wood Putty
- Choose a wood putty that matches the type of wood or stain color.
- Clean the damaged area with mineral spirits and a soft cloth.
- Scoop a small amount of putty with a plastic spatula or your finger.
- Press the putty into the scratch or gouge.
- Smooth the surface with a flat tool, removing excess putty.
- Let the putty dry completely (usually 30-60 minutes).
- Sand the area lightly with finer grits of grit sandpaper.
- Apply a fresh coat of polyurethane or matching wood finish to seal the repair.
Why It Works
Unlike quick fixes, wood putty provides a long-lasting solution. Once hardened, it blends with the surrounding wood, making the damage almost invisible.
| Scratch Type | Repair Time | Durability | Best For |
| Deep Scratches | 1 Hour | Permanent | Larger wood abrasions |
| Gouges | 2 Hours | Permanent | Extensive wood abrasions |
| Minor Scratches | 30 Minutes | Long-Lasting | Cosmetic damage |
Pro Tip: For darker wood, mix a small amount of stain repair pen or dark stain into the putty before applying. This trick creates a seamless match with darker-stained wood finishes.
If you’re dealing with serious damage to furniture finishes, this method will save your beautiful wood furniture. Just remember to seal everything with a protective layer of polyurethane finish or homemade furniture polish to avoid future damage.
Next, I’ll explain how sanding and refinishing can give your scratched furniture a completely new life — especially for those stubborn dark wood scratches.
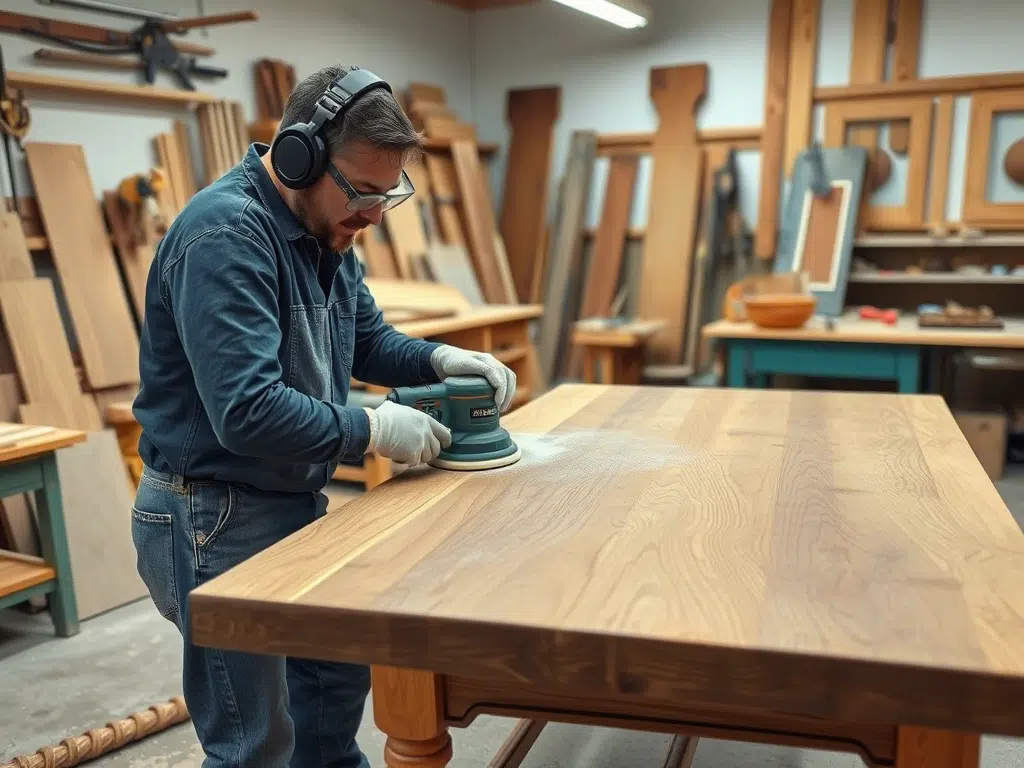
Sand and Refinish Scratched Areas
Some wood scratches go beyond surface marks and leave behind noticeable dents or chipped wood surface. These types of damage often happen on wooden tables, kitchen chairs, or high-traffic furniture pieces.
I faced this issue on my grandmother’s dark wood coffee table, which had years of minor damage along its edges.
At first, I thought nothing could restore its beauty. But after trying different repair methods, I learned that sanding and refinishing can bring damaged wood back to life — no matter how bad the scratch.
When to Use This Method
This method works best for:
- Larger wood abrasions
- Deep scratches that expose raw wood
- Furniture with an old or worn wood finish
- Scratches across the entire surface
If the extent of damage is too severe or the wood has delicate carvings, it’s better to consult professional refinishing services.
How to Sand and Refinish Wood Furniture
Here’s how I refinished the scratched areas step by step:
- Clean the surface with a damp cloth to remove dust and dirt.
- Use finer grits of grit sandpaper (220-400 grit) to smooth out the scratches.
- Always sand in the direction of the wood grain to avoid leaving new marks.
- Wipe away loose grit particles with a microfibre cloth.
- Apply a combination of stain repair to match the original wood color.
- Let the stain dry completely.
- Seal the surface with a fresh polyurethane finish using a soft brush.
- Buff the final layer with extra-fine-grade steel wool for a smooth finish.
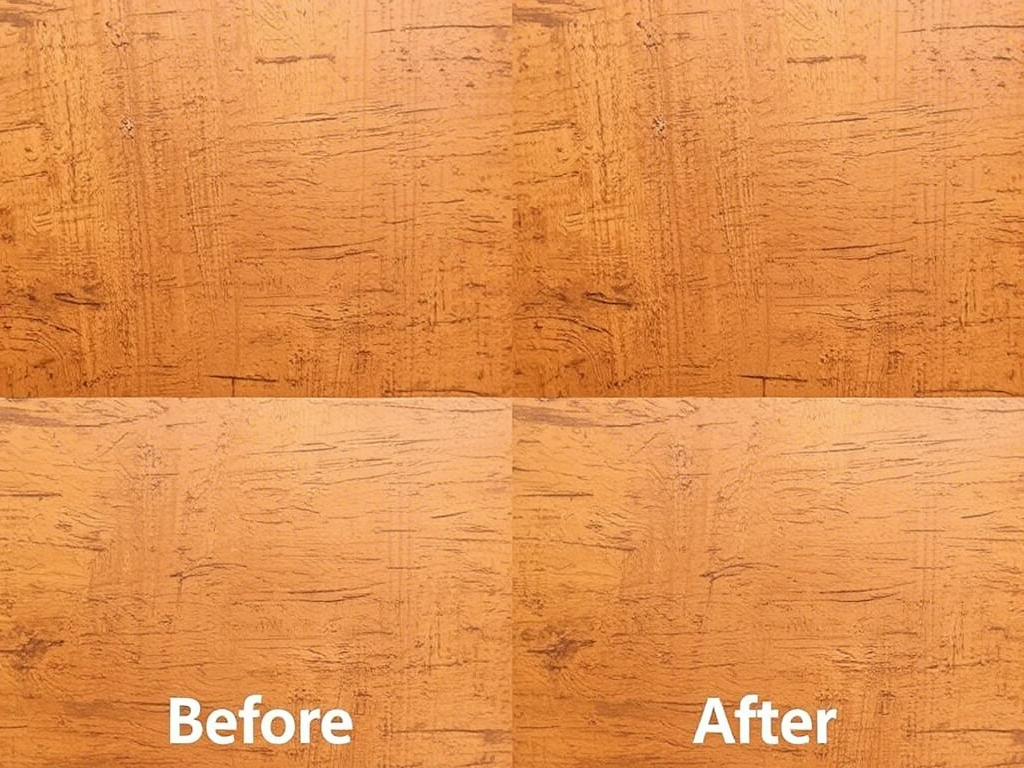
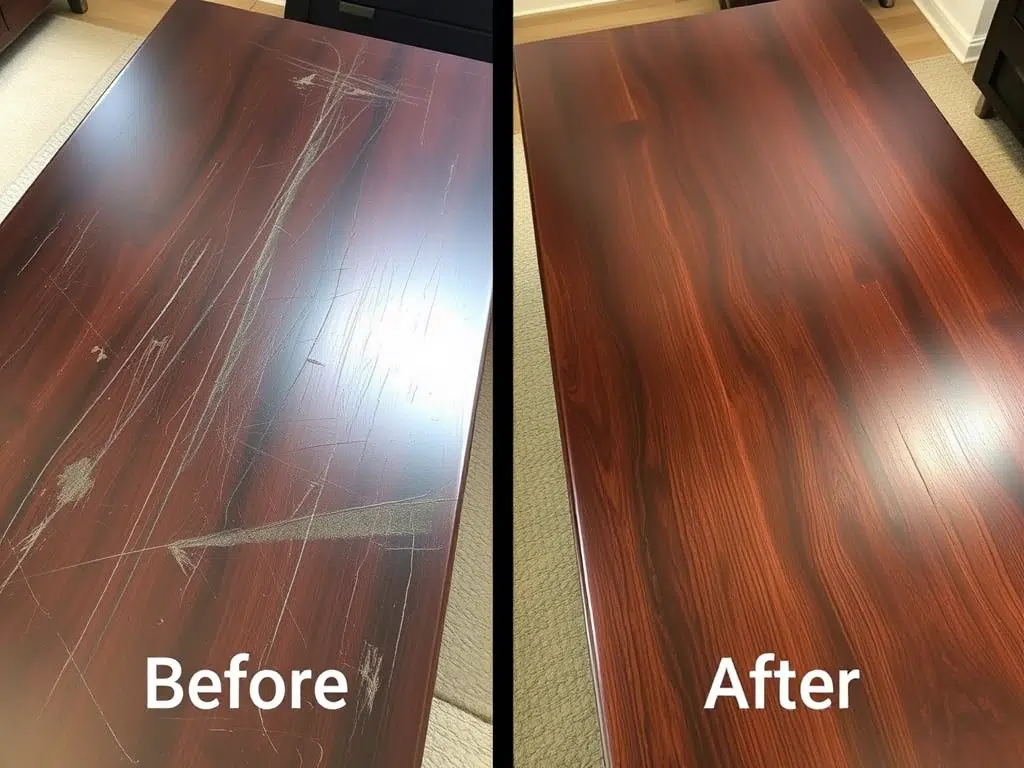
Before and After Results
| Damage Type | Condition Before | Condition After |
| Deep Scratches | Visible | Gone |
| Larger Wood Abrasions | Rough Surface | Smooth |
| Cosmetic Damage | Worn Look | Like New |
Key Tips for Best Results
- Use mineral spirits to clean the wood before sanding.
- Apply thin coats of polyurethane instead of one thick layer.
- Always sand between coats with bit of steel wool for the smoothest finish.
What I Learned
This method takes time, but the results are worth it. My grandmother’s table looked brand new again — and the best part is that I did it myself without spending hundreds on professional refinishing.
If you’re dealing with significant damage, this is the most effective DIY solution. But if you’re not comfortable working with sandpaper or finishing materials, professional help might be the safer option.
Consider Professional Refinishing Services
Sometimes, no amount of DIY hacks can fix certain scratches — especially deep gouges in wood or extensive wood abrasions. I’ve learned that it’s okay to ask for help when the damage is too overwhelming.
When to Call a Professional
Professional refinishing services are the best option if:
- The scratches cover a large area.
- The furniture is antique or valuable.
- The wood has detailed carvings or delicate inlays.
- You want a flawless finish without risking further damage to furniture finishes.
What to Expect from Professional Refinishing
Most professional refinishing services follow these steps:
- Stripping off the old wood finish.
- Sanding the surface with professional tools.
- Applying custom-matched stain repair pens or marker with stain.
- Sealing with a high-quality polyurethane finish.
- Buffing the entire surface for a smooth, polished look.
| Service Type | Price Range | Best For |
| Spot Repairs | $50-$100 | Minor scratches |
| Full Refinishing | $200-$500 | Extensive wood abrasions |
| Antique Furniture Restoration | $500+ | Valuable pieces |
How to Choose a Service
Check online reviews or join your current community groups to find trusted professionals near you. Many hardware stores also have partnerships with local refinishing experts.
Is It Worth the Cost?
If your furniture holds sentimental or monetary value, professional refinishing can save it from becoming trash. For me, the cost was worth every penny when I saw my family heirloom table restored to its original beauty.
Even if you prefer DIY methods, professional help can fix what homemade wood polish or repair methods can’t.
Next, let’s talk about how to prevent scratches from happening in the first place with simple furniture care tips that will protect your beautiful wood furniture for years to come.
Preventing Scratches Through Proper Maintenance
Fixing wood scratches can be satisfying, but no one wants to deal with them repeatedly. After spending countless weekends repairing my wood furniture, I realized that proper care methods can prevent most scratches from happening in the first place.
Protecting your beautiful wood furniture starts with small habits. Regular cleaning, the right tools, and a little attention can keep your wooden surfaces smooth and scratch-free for years.
Regular Cleaning Methods to Protect Wood Surfaces
Dust, dirt, and tiny grit particles are the silent enemies of wood surfaces. They might seem harmless, but they act like sandpaper over time — creating invisible scratches that dull the finish.
I used to clean my wooden tables with any cloth I had nearby — until I learned that the wrong materials can cause more damage than dirt itself.
Best Cleaning Routine
- Dust daily with a microfibre cloth or soft cloth.
- Wipe surfaces weekly with a slightly damp cloth followed by a dry cloth.
- Use homemade natural furniture polish made from olive oil and white vinegar once a month.
- For stubborn stains, mix a small amount of mineral spirits with warm water on a cotton cloth.
| Cleaning Material | Frequency | Best For | Avoid |
| Microfibre Cloth | Daily | Dust Removal | Grit-covered cloth |
| Damp Cloth | Weekly | Surface Cleaning | Excess water |
| Vinegar & Olive Oil | Monthly | Polish wood | Too much vinegar |
| Mineral Spirits | Rarely | Stubborn Stains | Polyurethane Finish |
Tip: Always wipe with the wood grain to avoid creating tiny scratch marks.
Using Coasters and Felt Pads to Prevent Scratches
I learned this the hard way when I left a hot coffee mug on my cherry wood coffee table. The next morning, there was a faint ring-shaped scratch mark that wouldn’t go away.
Coasters and felt pads are simple yet powerful solutions to protect wood surfaces from daily wear and tear.

What to Use
- Felt pads under chairs, tables, and furniture legs.
- Cork or rubber coasters for coffee tables and side tables.
- Cloth placemats under decorative items.
| Item | Purpose | Price Range | Durability |
| Felt Pads | Prevents scratches | $5-$15 | 6-12 months |
| Coasters | Protects from heat and moisture | $10-$20 | Long-lasting |
| Table Runners | Covers larger areas | $20-$40 | Long-lasting |
Tip: Replace felt pads every 6-12 months as they wear out over time.
Best Practices for Moving Furniture
Dragging furniture across the floor is one of the quickest ways to create scratches from wood furniture. Whether you’re rearranging your living room or shifting a couple of kitchen chairs, always lift furniture instead of sliding it.
How to Move Furniture Safely
- Empty drawers and remove items before moving.
- Place microfibre cloths or soft cloths under furniture legs if sliding is unavoidable.
- Use furniture sliders for heavier items.
- Ask for help with larger pieces.
| Furniture Type | Moving Method | Risk Level | Protection Needed |
| Chairs | Lift by legs | Low | Felt Pads |
| Tables | Lift by edges | Medium | Furniture Sliders |
| Cabinets | Disassemble if possible | High | Blankets and Sliders |
Small actions like these protect your furniture and prevent floor damage at the same time.
Tips for Humidity Control to Protect Wood
Wood naturally expands and contracts with humidity changes. This constant movement can cause cracks, warping, and even scratch marks.
I once left my dark wood furniture near a window during a hot summer, and within months, the wood started to split along the edges.
How to Control Humidity
- Keep humidity levels between 40-60% year-round.
- Use a humidifier in winter to prevent wood from drying out.
- Place bowls of water in rooms with wood furniture during dry seasons.
- Avoid placing furniture near radiators or air vents.
| Season | Humidity Level | Solution |
| Winter | 20-40% | Humidifier |
| Summer | 50-70% | Dehumidifier |
| Year-Round | 40-60% | Indoor Plants |
Tip: Invest in a small digital hygrometer to monitor room humidity easily.
Proper maintenance doesn’t just protect wood — it keeps your home looking beautiful without constant repairs. A little degree of care goes a long way in saving your wood furniture from future damage.
Next, I’ll answer common questions about wood scratches and share how to spot whether your scratch needs professional help or a simple DIY fix.
FAQs About Fix Scratches on Wood Furniture
Final Thoughts
Repairing scratches on wood furniture doesn’t have to be daunting. With the right care and a few simple DIY methods, your wooden furniture can look as good as new.
Whether you’re dealing with light scratches or more significant damage, there are plenty of hacks to restore the beauty of your wood surfaces.
From using common household items like coffee grounds and olive oil to applying wood putty for deeper damage, there’s always a solution for every scratch.
Remember, regular maintenance is key to preventing future damage. By adopting good habits like using coasters, cleaning regularly with the right cloths, and controlling humidity, you’ll keep your wooden furniture looking its best for years.
And don’t forget, every wood finish requires a slightly different approach, so always test your chosen repair method first. Keep these tips in mind, and you’ll confidently care for your wood furniture like a pro!